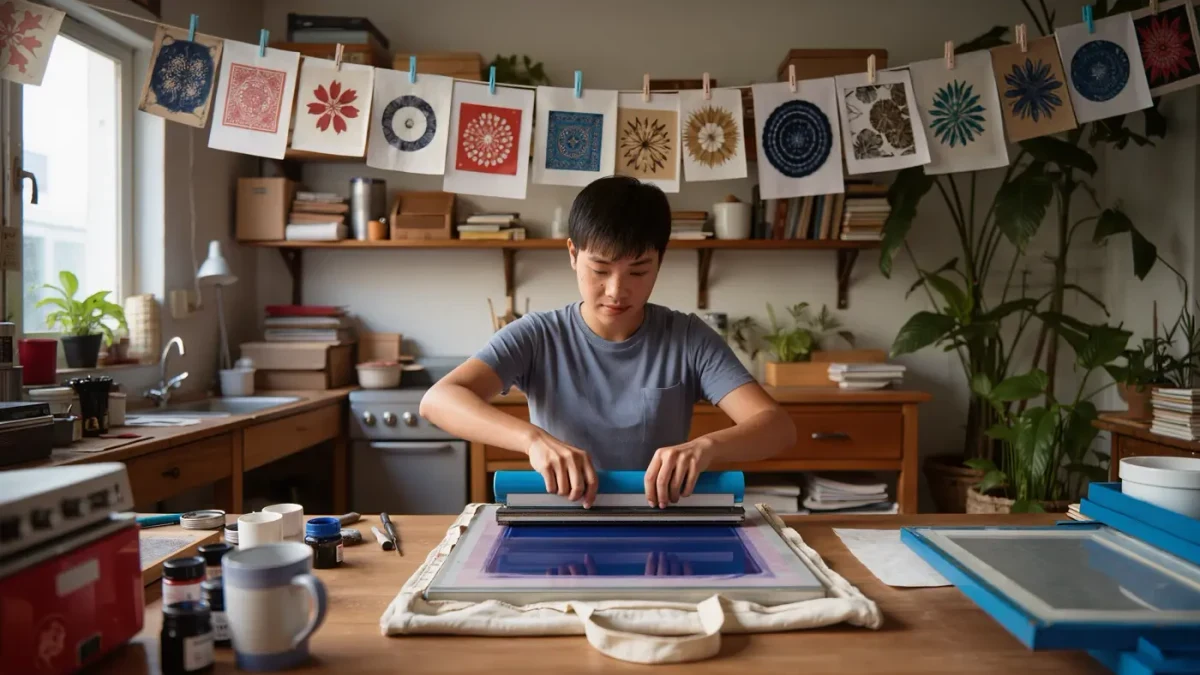
Screen printing at home needs three things: a stretched mesh screen, ink pushed through the open mesh by a squeegee, and a stencil blocking everything else. A 43T screen deposits plenty of ink for fabric, paper stencils need no special equipment, and water-based textile inks heat-set with a hot iron in three to five minutes.
How does a screen hold an image?
A screen print is a stencil with a support. The mesh is a fine net stretched taut in a frame; wherever the stencil is absent, ink passes through the mesh onto the fabric below, and wherever the stencil blocks, nothing prints. Because the mesh holds the stencil in place, the same image can be printed repeatedly with perfect registration — the reason screen printing has served poster makers, textile printers and band-merch tables for a century.
Mesh count decides how much ink passes. For textiles, screens between 43T and 90T do most of the work: the coarser 43T mesh carries heavy ink deposits for bold shapes and fabric, mid-range meshes handle general textile work, and a finer 90T mesh resolves fine line work. A beginner starting with paper stencils and bold shapes belongs firmly at the coarse end. The wider world of the craft, from gig posters to fine art editions, is profiled regularly by BBC Culture.
Registration, the alignment of image to fabric across a run, is the other idea worth meeting early. Hinge clamps fix the screen to the table so it lifts and drops in exactly the same place every time; without them, every print needs fresh measuring. The clamps cost very little and turn a wobbly process into a calm one.
What does a home screen printing set-up need?
A corner of a table and this short list:
- One A4 or A3 screen in 43T–55T mesh
- A squeegee with a blade a little narrower than the inside of the frame
- Two hinge clamps, or a friend with steady arms
- One 250ml pot of water-based textile ink
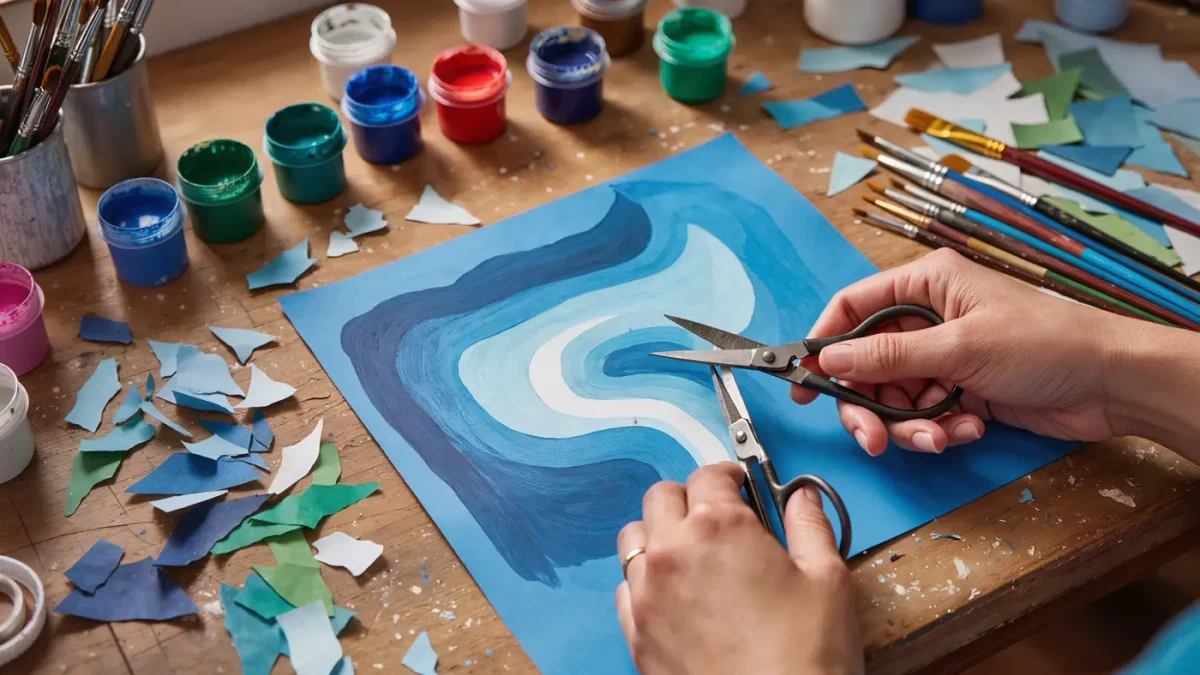
- Cartridge paper for stencils, a craft knife and a cutting mat
- Low-tack tape for masking the edges of the screen
- A sponge, a basin and access to a tap for washing out
- Plain cotton to print on — totes, tea towels or half-metres of fabric
- An iron for heat-setting
How do you print with a paper stencil at home?
- Design in bold, connected shapes with no floating interior lines — a stencil is one continuous piece of paper, and every island must connect. Cut the shapes from cartridge paper with a craft knife on the mat.
- Tape over the gap between the mesh and the frame walls inside the screen, so ink cannot sneak into the corners where the squeegee cannot reach.
- Lay the fabric flat on a firm table, smoothed and wrinkle-free. Position the stencil face-up on the fabric exactly where the image belongs, then lower the screen over it. The first pull presses the stencil against the underside of the mesh, and from then on the screen and stencil travel together.
- Flood the mesh before printing: pull a bead of ink across the screen with the squeegee held nearly flat and almost no pressure, filling the mesh with ink but not pushing it through.
- Print: pull the squeegee towards you at roughly 45 degrees with firm, even pressure, one pass for most fabrics, two for a heavy deposit. The mesh should snap cleanly off the print behind the blade.
- Lift the screen, remove the finished print to dry flat, reposition fresh fabric under the screen and repeat from the flood stroke. The stencil holds for a run of a dozen prints or more.
- Wash ink out of the mesh immediately after the run with warm water — water-based ink skins in the mesh if left, and a blocked screen rarely recovers. Let prints dry flat, then heat-set from the reverse with a hot iron for three to five minutes, following the ink manufacturer's guidance.
Which mistakes blur a home print?
Ink overload is the commonest: a bead too fat squashes outward under the squeegee and creeps under the stencil edges, blurring the outline. A thin, even flood and a single firm pass beat a heavy double-pull almost every time. Uneven squeegee pressure — tipping the blade mid-stroke or easing off at the end — leaves pale patches, so finish every stroke through to the frame edge.
Fabric that shifts mid-print smudges the image; take a second to smooth and align each piece before lowering the screen. And skipping the heat-set is the invisible mistake, because the print looks finished and survives until the first wash. Three minutes with a hot iron on the reverse is cheap insurance for the whole run.
Work out the sequence of a session before any ink is opened: stencil cut, fabric smoothed, table protected, basin filled. Screen printing punishes improvisation at exactly the moment it rewards it — the printing itself invites play, while the clock between the flood stroke and the wash tub does not. A practice run on newsprint buys that calm for nothing.
From this single-stencil beginning, the craft grows through screen filler, photo emulsion exposed in sunshine, and multi-colour registration — each one a small step beyond the last, none of them a wall. A modest stack of tote bags printed in an afternoon makes the point better than any argument: the method really does fit inside ordinary life.