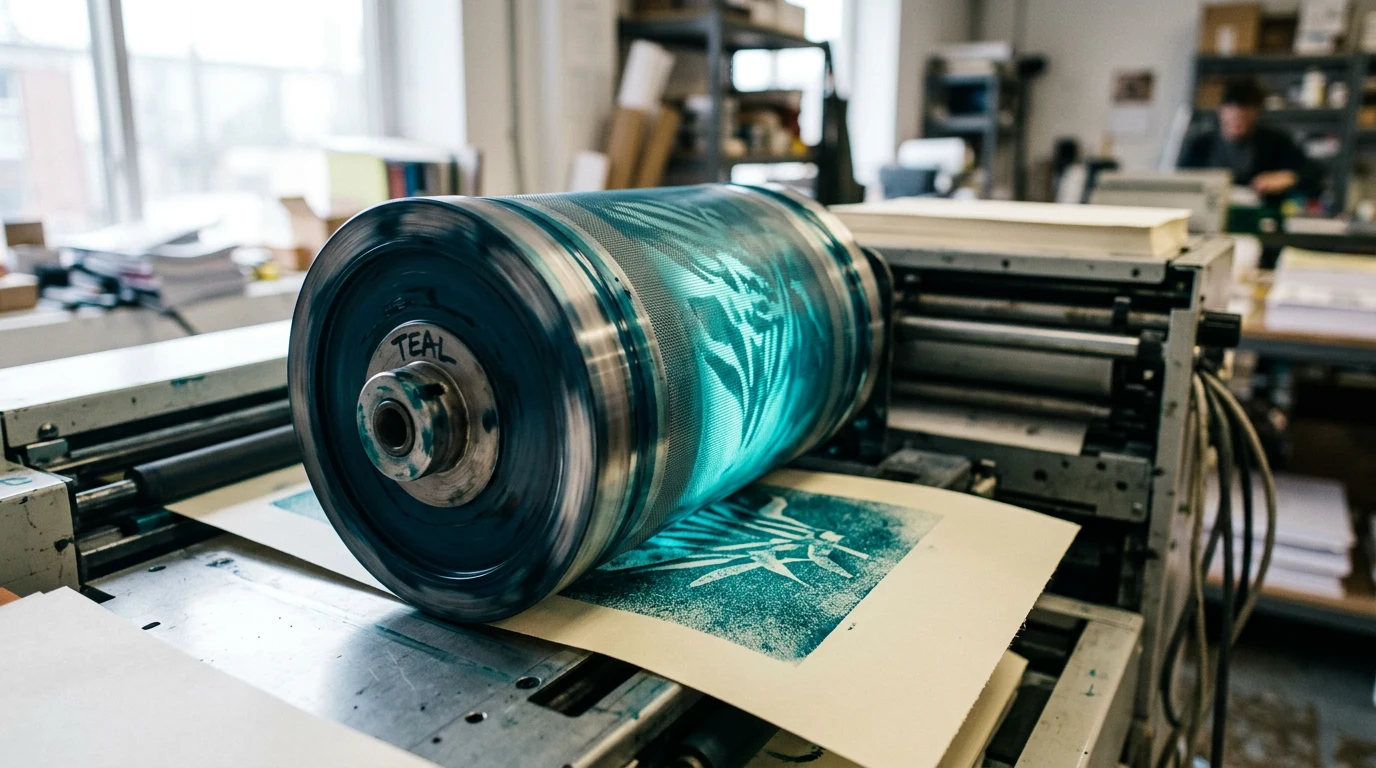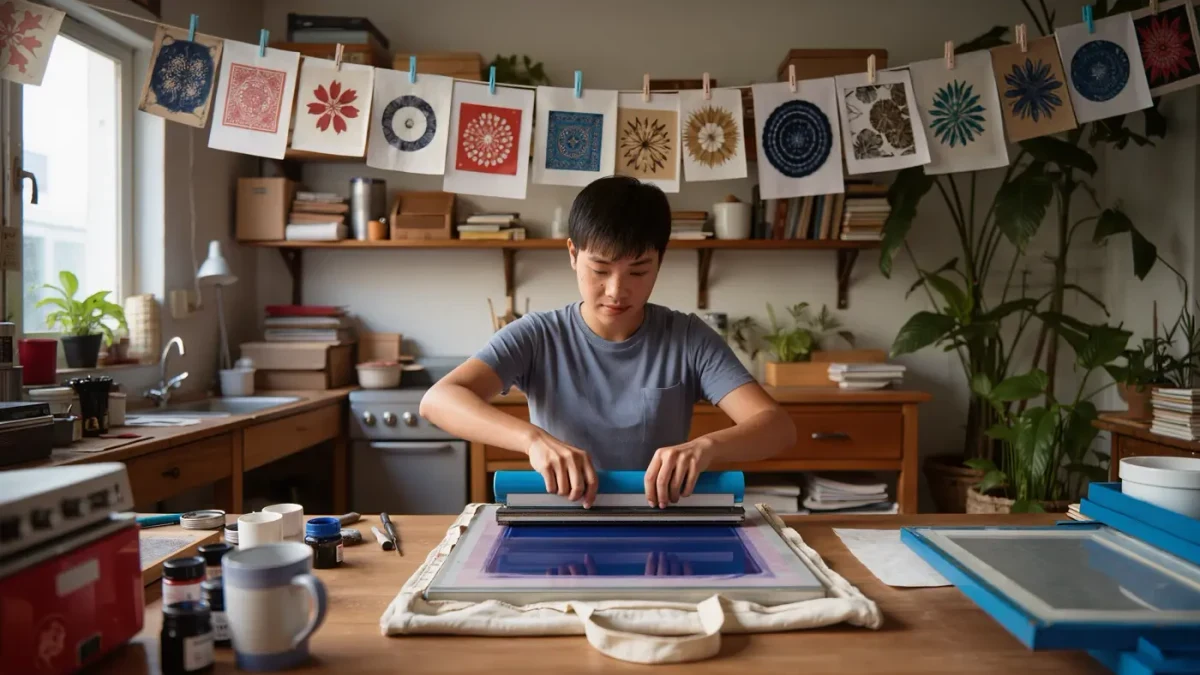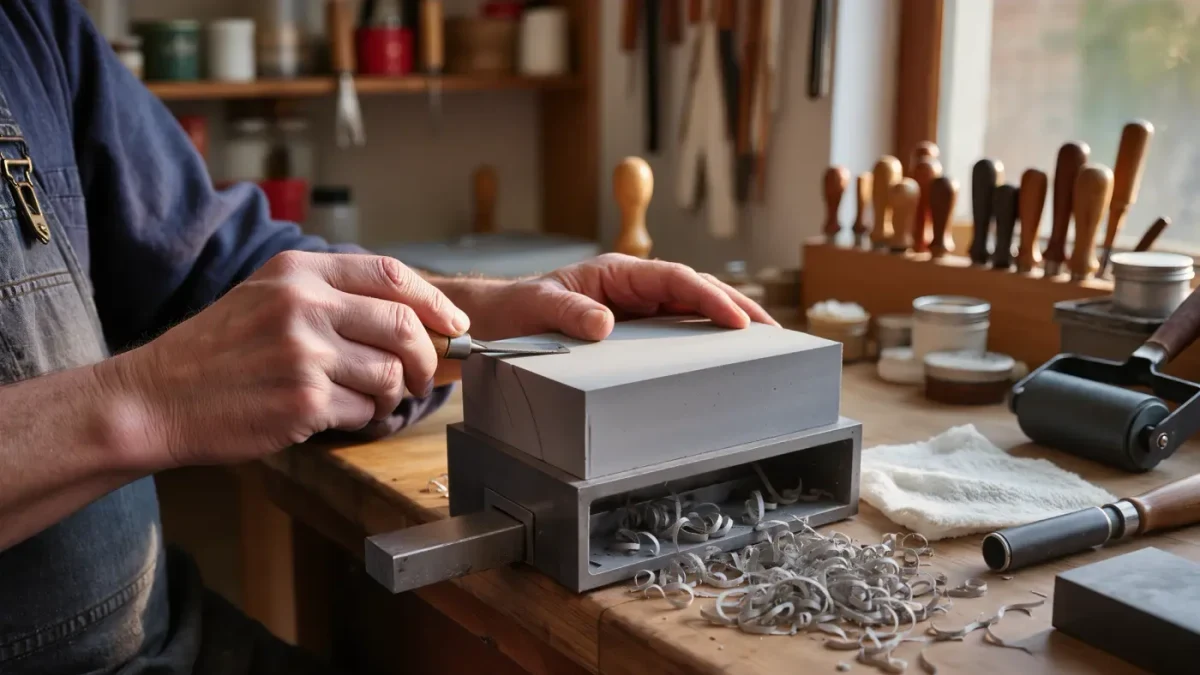
Linocut printing for beginners is a fair exchange: every mark carved out of the block stays white, and everything left standing takes the ink. Soft grey lino cuts cleanly at room temperature, an A6 design takes an afternoon to carve, and water-based relief ink feels touch-dry on the paper within about thirty minutes.
What exactly is a linocut?
Linocut sits in the relief family of printmaking, alongside woodcut. The maker carves away everything that should stay unprinted, rolls ink across the raised surface that remains, lays paper over the top and rubs the back until the image transfers. Because the printing surface stands above the carved areas, one block can be inked and printed many times over, producing a small edition of near-identical prints.
Linoleum itself — cork dust and linseed oil pressed onto a hessian backing — began life as floor covering in the 1860s. Artists took it up in the early twentieth century because it offers no wood grain to fight, which allows sweeping curves, clean geometry and instinctive marks. That forgiving cut is exactly what makes lino such a good first block: the material responds honestly, and confidence shows in the printed line.
The edition is the other quiet pleasure of relief printing. Because the block survives each impression, a design carved once can be printed five, ten or fifty times, each pull nearly identical to the last. Printers number the prints in the order pulled, and a well-stored block can rest for years and be editioned again.
Contemporary printmakers continue to stretch the technique across gallery walls and zine fairs alike, as studio features in BBC Culture regularly record. The beginner sequence below is the same one those printers learned first.
What does a beginner need to buy?
The starter kit costs little, fits in a drawer and lasts for years:
- One A6 block of soft grey lino, or traditional hessian-backed lino if a longer-lasting block is preferred
- A set of five gouges: one V-tool for outlines, U-shaped tools of roughly 2mm, 3mm and 5mm, and a wide scoop for clearing backgrounds
- A 75mm rubber roller, plus a sheet of glass or acrylic to serve as an inking slab
- One 50ml tube of water-based relief ink in black
- A wooden spoon or baren for rubbing the print by hand
- Ten sheets of smooth 120–150gsm paper, each cut slightly larger than the block
- A soft pencil, carbon transfer paper, a cutting mat and a bench hook to brace the block while carving
Smooth paper takes the cleanest impression; cartridge or a lightweight printmaking paper both work well, and tearing sheets rather than cutting them gives a soft, feathered edge that suits hand-pulled prints.
How does a linocut go from first cut to final pull?
- Plan the design at A6 in solid black and white before touching the lino. Decide which areas print and which stay paper, and remember that the print mirrors the block, so lettering must be drawn reversed.
- Transfer the drawing with carbon paper, or draw directly onto the block in pencil. Soft grey lino needs no preparation, while traditional hessian lino cuts far more willingly after ten minutes warming near a radiator.
- Outline the main shapes with the V-tool, then clear the white areas with the U-gouges, always cutting away from the resting hand and letting the tool skim rather than plunge. A depth of two to three millimetres is enough; deeper carving only weakens the surface.
- Squeeze a thumb-sized bead of ink onto the slab and roll it out until the roller carries an even, tacky film and the slab shows a fine orange-peel texture. Roll the ink over the block in several directions until the raised surface gleams evenly.
- Lay a sheet of paper over the inked block without shifting it, then rub firmly with the back of a spoon from the centre outwards for thirty to sixty seconds, giving corners and edges particular attention.
- Peel the paper from one corner in a single confident movement. This is the pull — the moment the carved design first appears in ink — and it is the part of the process printers find quietly addictive.
- Re-ink between prints and pull the whole edition. Leave prints flat for twenty-four hours to dry completely, then number and sign each one; an edition of five to ten is a realistic first goal.
Which beginner mistakes are worth avoiding?
Carving too deep is the most common error: it slows every pass, tires the hand and can undermine the printing surface, while shallow repeated cuts give far better control. Forgetting the mirror effect spoils any design containing words. Over-inking is the quieter saboteur — excess ink squashes into carved lines and fills them — so build thin coats rather than heavy ones.
Water-based ink also skins over quickly on a warm block, so keep the rubbing stage brisk. It pays to print a proof after each stage of carving, too: an early print costs nothing but paper and shows how the design reads while there is still lino left to change.
Finally, respect the gouges: keep the free hand behind the blade at all times, brace the block in the bench hook, and carve only as fast as the tool can be steered.
Reduction printing, multi-block colour work and chine-collé all grow from this same sequence of cut, ink and pull. One small vocabulary, patiently learned, opens a very large field of play. Care for it simply — wipe gouges dry after use, clean the roller while the ink is fresh, and store the block flat and out of sunlight — and the same kit will still be printing decades from now.