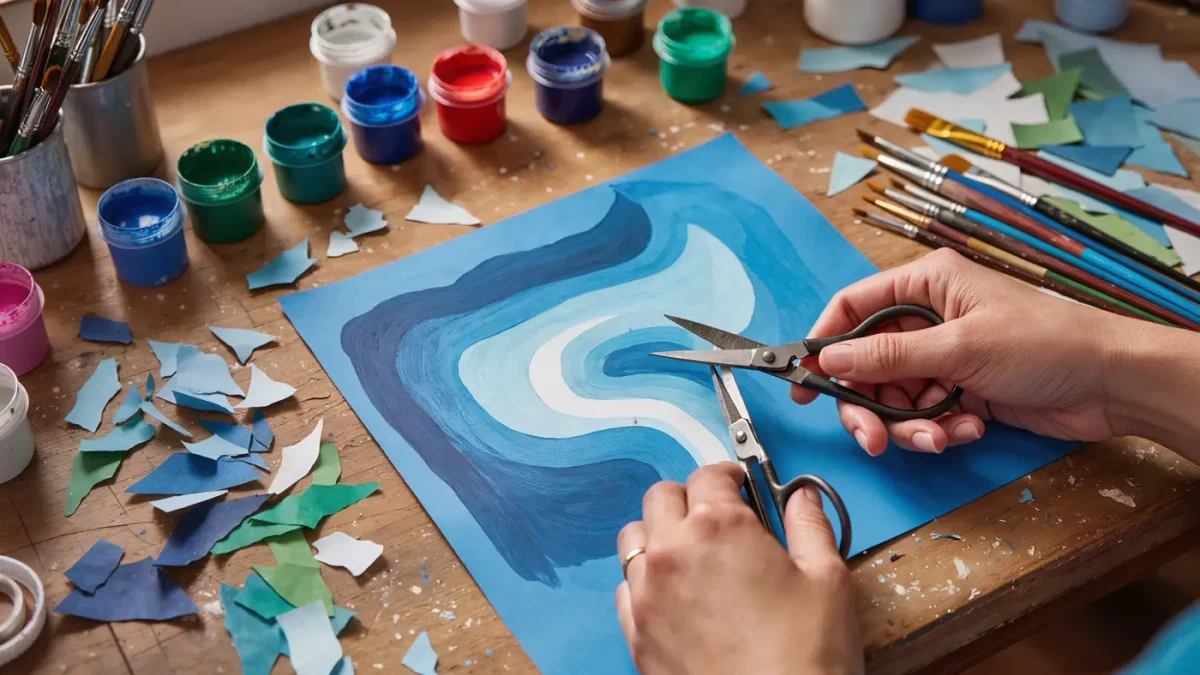
Cut-paper collage techniques begin with Matisse's late cut-outs. From the mid-1940s, recovering from major surgery in 1941, the painter had assistants coat sheets of paper with gouache, then cut into them freehand with small scissors — painting with scissors, as he described the approach. Every cut yields a positive shape and its negative remainder, and both are material.
What was the late cut-out method?
Until his final years Matisse used cut shapes chiefly as scaffolding for paintings. In the 1940s the relationship reversed: the cut paper became the work. Assistants prepared sheets painted edge to edge in flat, saturated gouache, kept in stacks sorted by colour, and the artist then cut directly into them without drawn outlines, the scissors travelling as a pen would. The shapes were pinned straight to the walls of his studios in Vence and Nice, moved, overlapped and revised over weeks before any fixing.
The method matured into the Jazz portfolio, published in 1947, and finally into an entire building — the Chapel of the Rosary at Vence, designed between 1948 and 1951, its stained glass and murals grown from painted-paper maquettes. The Snail, one of the last great cut-outs from 1953, sits in the Tate collection. Coverage of the cut-outs in BBC Culture traces how thoroughly the late technique has settled into contemporary art and design. tutorials coverage.
Three working principles travel well from that studio to a kitchen table. Cut freehand, without pencilling shapes first, so the scissors keep the spontaneity of a drawn line. Turn the paper into the blade rather than steering the blade around the paper, which is how long, confident curves happen. And keep both halves of every cut — the shape and the hole it left — because a composition built from negatives is often the stronger one.
The studio practice around the cutting mattered as much as the cutting itself. Shapes were pinned straight to the walls so compositions could be read from across the room, and assistants moved the pins again and again under direction; surviving sheets carry the pin holes as evidence. Speed of execution, then, was never the point — seeing was.
What does a cut-paper practice need?
The whole kit fits on one chair:
- Twelve to fifteen sheets of heavier paper, 160gsm or more, for painting
- Gouache or acrylic, and a wide flat brush for even coats
- Small sharp scissors of the nail or embroidery type, plus a craft knife for interior cuts
- An acid-free glue stick or thin PVA and a piece of clean card to spread it
- A sturdy backing sheet or board for the composition
- Tweezers for placing small shapes, and weights for pressing finished work
How do you build a cut-paper collage?
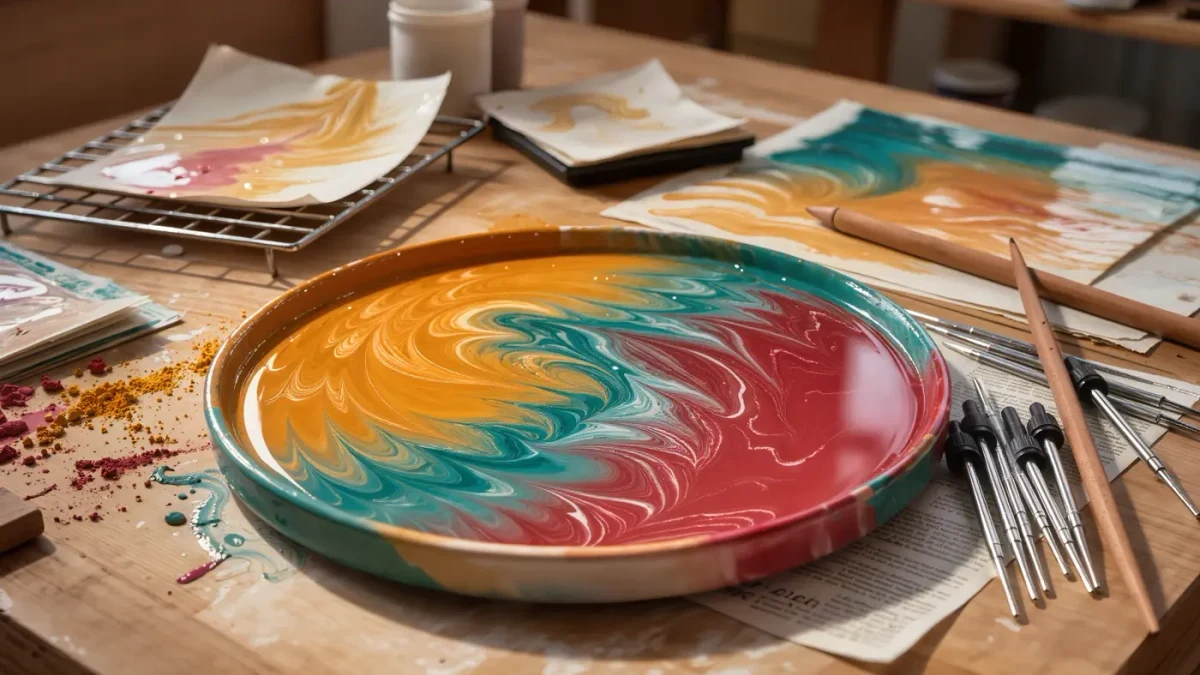
- Paint the sheets in flat, saturated colour — two thin coats, dried fully between — and paint several values of each hue rather than many different hues. A stack of solid-colour paper is the palette; build it before composing anything.
- Warm up by cutting a row of freehand shapes: arcs, leaves, spirals, half-moons. Turn the paper into the scissors and let the shapes be imperfect — the small wobble of a hand-cut edge is precisely what the eye reads as alive.
- Cut the motifs for the composition directly, as Matisse did, working from general to specific: the broad leaf first, then the vein cut through its middle. Keep every negative sheet; the hole a leaf was cut from is a shape too.
- Compose loose on the backing sheet, with no glue, moving pieces for as long as the composition stays interesting. The cut-outs were pinned and re-pinned for weeks at a time, and that patience — composition as rearrangement — is the most transferable part of the method.
- Fix the pieces from the background forwards, using the thinnest even layer of glue and pressing each shape from its centre outwards to drive out air and excess adhesive.
- Let overlaps do compositional work: a foreground shape crossing a seam between two background pieces visually welds them, and a single strong diagonal crossing the sheet will hold a composition together more reliably than any number of small accents.
- Trim or mount the finished piece, then press it under weights overnight so the glued paper dries flat and stays that way.
What flattens a cut-paper composition?
Over-planning is the first flattener. Shapes pencilled, outlined and carefully cut lose the liveliness that freehand cutting exists to preserve; better to cut freely and discard freely, since a painted stack of paper makes experimentation cheap. Too many hues flatten a composition just as surely — three or four colours, each in several values, read richer than a dozen competing for attention.
Heavier glue applications cockle the paper, so thin layers and a night under weights keep the surface flat. Uniform shape sizes quieten a composition into wallpaper, so vary the scale boldly, from shapes nearly as large as the sheet down to confetti. And resist filling every gap: in cut-paper, as in the late cut-outs themselves, the empty painted field is doing as much work as the shapes set upon it.
A week of evenings with painted paper, small scissors and a willingness to keep both halves of every cut will build the vocabulary; after that, the material itself keeps suggesting the next piece. Matisse worked this way into his final years, and photographs of the late studio walls, papered with cut shapes from skirting to ceiling, made the argument better than any canvas could.