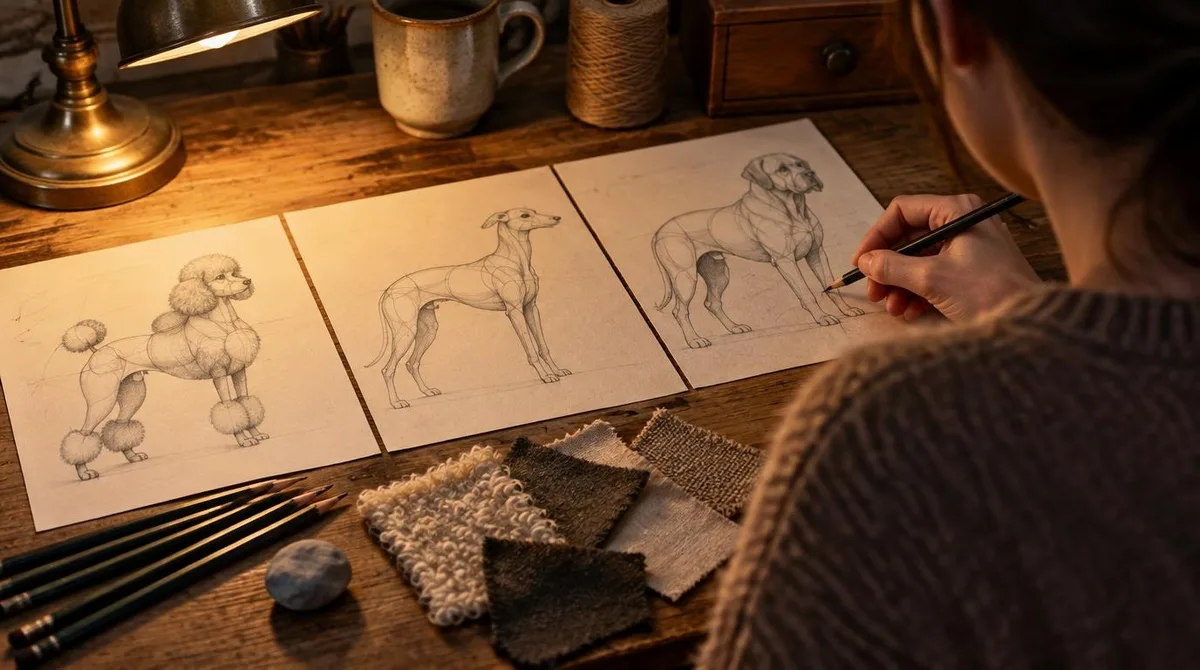
A shape-first method turns any breed into a manageable drawing: build the dog from circles, tilt the proportions towards the breed, then lay fur in bunches that follow the coat. This guide gathers that approach from working artists’ tutorials. One caveat applies: every coat grows differently, so reference photos still matter.
Anyone learning how to draw dogs meets an odd comfort first: every breed shares the same basic plan. Dogs remain one species, yet they span a 0.46 kg teacup poodle and a 90 kg giant mastiff. More guides on drawing and craft sit in our tutorials hub.
The method below moves from big shapes to small textures in four stages. It works in pencil, in ink, or on a tablet, because it depends on observation rather than on any single tool.
Which shapes sit beneath every breed?
Circles do the early work. The Art Rocket tutorial starts with a circle for the skull, two for the ribcage and pelvis, and four small ovals for the paws. As the guide puts it, “Dogs come in all shapes and sizes, so be sure to try different sets of circles for different species.”
The Wikipedia breed overview counts upward of 360 globally recognised breeds, most developed within the last 200 years. The same source notes that skull, body, and limb proportions vary significantly between breeds. Shift those proportions, and one species becomes a library of different-looking dogs.
How do proportions change between breeds?
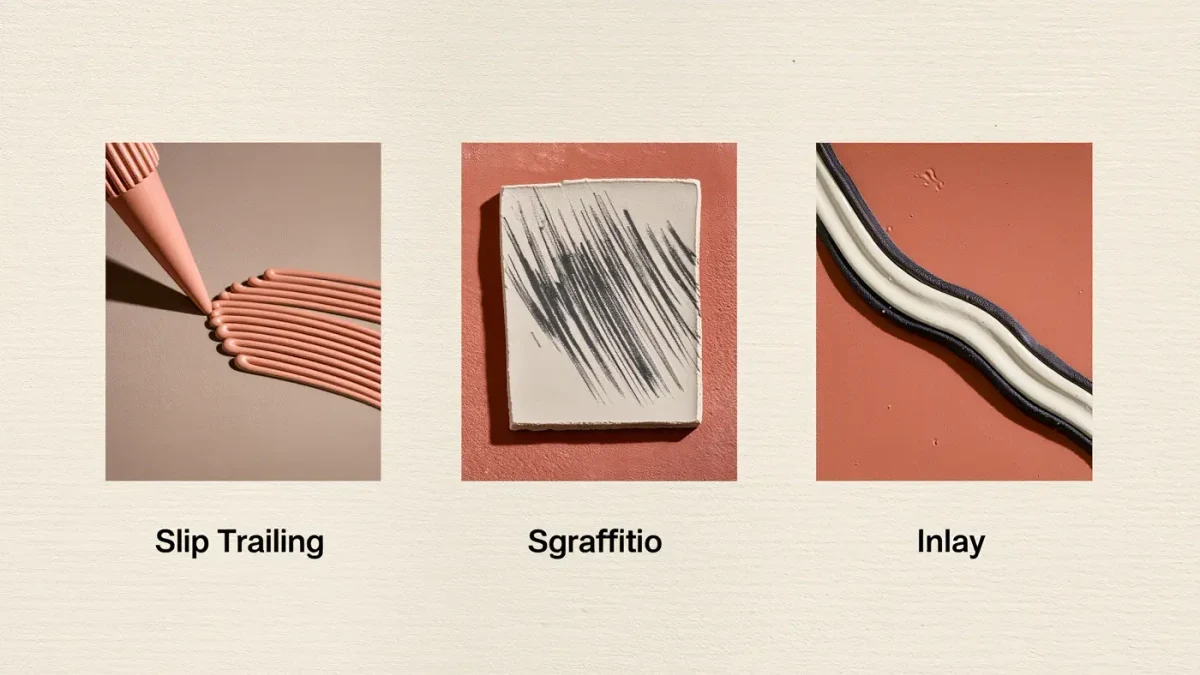
Adjust three levers: muzzle length, leg length, and chest depth. Art Rocket suggests an oblong skull for a hunting dog such as the golden retriever, plus a ribcage circle larger than the pelvis circle, because the breed is muscular. Shorten the muzzle, and the same circles start to read as a puppy. Readers following this should also see Three slip decoration techniques transform clay at the leather-hard stage.
The tutorial’s closing tip widens the trick: “By changing the balance of the shape and size of the dog, you can draw dogs of different ages and breeds.” Reducing a subject to plain shapes travels well beyond dogs, too – papercut collage techniques build whole pictures the same way, one flat shape at a time.
How do you draw fur so it reads as fur?
Draw it in bunches, never hair by hair. Art Rocket is direct about the habit: “To draw the fur, it’s better to draw it in bunches to achieve the proper shape and expression rather than one hair at a time.” Strokes follow the direction of growth, and long coats fall with gravity.
Coat structure explains why the bunches differ across the body. A dog’s coat holds two layers: stiff guard hairs on top that repel water, and soft down hairs beneath for insulation. Thick-furred breeds such as the Newfoundland wear both; single-coated breeds such as the poodle show a smoother, hair-like coat.
Why does a long coat hide the bones?
On a long-haired dog, the joints sink from view. The tutorial compares the effect to wearing large, baggy clothes, with fur and skin moving over the skeleton as one soft shape. Drawing the visible hairline, where short head fur meets the bushy neck and belly, keeps the body believable underneath.
On a golden retriever the head carries short, prickly fur, while the neck, belly, and legs carry bushy growth. Watch where those zones meet, and let that meeting line replace the outline. The coat, not the contour, finishes most breed portraits.
Conclusion: shapes first, then the coat
Breed drawings usually fail at the layout stage, not the detailing stage. Fix the circles, then the proportions, then the fur zones, and the portrait settles into place. Keep a photo beside the paper, check the muzzle and legs against it after each break, and let the coat’s direction do the finishing work. Practise on a loose sheet first, then commit to the good paper.