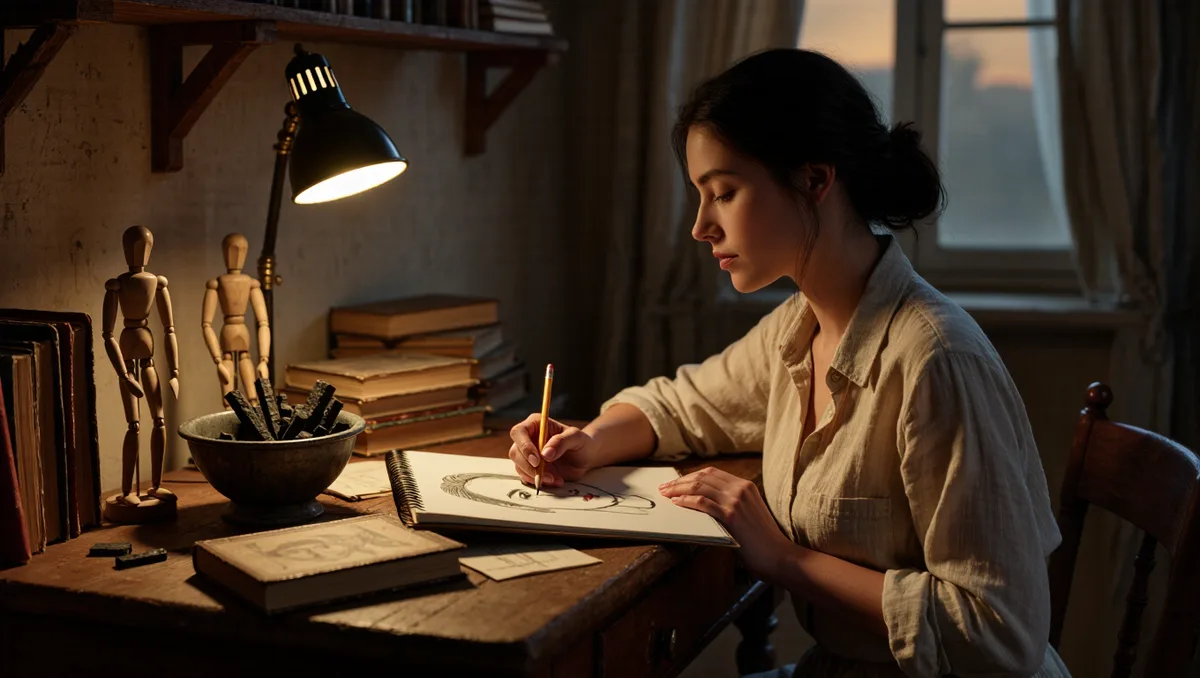
Learning how to draw faces comes down to two separate skills: getting the proportions of the head right, and then drawing the features so they sit correctly on it. Most beginners struggle because they try to do both at once. The fix is to build the head as a simple structure first, check the proportions, and only then place the eyes, nose and mouth.
This tutorial walks through that process step by step, and it starts by busting the most common myth: that the eyes sit high on the head. They do not. On an adult face, the eyes sit almost exactly at the halfway line. Nearly every proportion error in a beginner portrait traces back to forgetting this, so it is the first thing we will fix. This connects to our earlier piece, Five embroidery stitches for beginners carry almost every pattern.
Why do drawn faces so often look wrong?
Because the symbols we learn as children fight against what we actually see. A child's drawing places huge eyes high on a small oval, and that symbol sticks. When a beginner draws from observation, the symbol takes over and pushes the features up and out of place.
Three errors account for most wonky portraits:
- Eyes too high. The eyes belong on the vertical midpoint of the head, not in the top third. The forehead is much larger than people expect.
- Head too narrow. Beginners draw an oval when a skull is closer to a rounded box. Craniums have width at the temples.
- Features drawn flat. The nose and mouth wrap around the curved surface of the face. Drawing them straight-on makes the head look like a mask.
None of these are talent problems. They are checking problems, and each has a simple fix.
What supplies do you need?
Very little. A pencil (HB or 2B), an eraser, and cheap paper you are happy to ruin. A ruler helps for the first few proportion studies, though you will soon drop it. If you would rather practise digitally, Adobe's free Aqua drawing app lets you sketch in a browser with no login, which makes it easy to try the same construction steps with an undo button.
Work from photographs at first. A front-facing photo with even lighting is the easiest starting point, and a mirror works too — though a mirror tempts you to draw your symbol of yourself rather than what is there.
How do you build the head's basic structure?
Follow these stages in order. Light lines throughout; you will erase most of them.
- Draw an oval, then flatten it slightly. Sketch a tall oval, then straighten the sides a little. A head is wider at the temples than a pure oval suggests.
- Mark the halfway line. Draw a light horizontal line across the middle. This is the eye line. Check it against your reference: the eyes really do sit here.
- Divide the lower half into fifths. The width of one eye should fit five times across the face: one eye of space at each edge, then two eyes, then one eye of space between them. Beginners almost always draw eyes too big; this check stops that.
- Mark the nose and mouth lines. The bottom of the nose sits roughly halfway between the eye line and the chin. The mouth line sits roughly a third of the way down from the nose to the chin.
- Add the vertical centre line. A light line down the middle keeps the features from drifting to one side.
How do you place the features?
With the guides in place, each feature has a home. Draw them as simple shapes before adding any detail.
- Eyes. Almond shapes sitting on the eye line, one eye-width apart. The outer corner usually sits a touch higher than the inner corner. Leave the top lid slightly thicker than the lower one.
- Eyebrows. They sit on the brow ridge, above the eye line, and extend past the eye's outer corner.
- Nose. Start at the inner corners of the brows and bring the bridge down to the nose line. Keep it simple: nostril wings and a hint of the ball are enough.
- Mouth. The mouth is as wide as the centres of the eyes, roughly. The line between the lips curves gently; the lower lip is fuller and catches more light.
- Ears. They sit between the brow line and the nose line — the same zone as the eyes and nose, which surprises most beginners.
- Hairline. Draw it last of the guides. The forehead from hairline to brow is taller than people expect, which is exactly why the eye-line rule matters.
What this means in practice: check each feature against its guide line before refining anything. A feature drawn beautifully in the wrong place still reads as a bad drawing.
How do you make the face look three-dimensional?
Shading turns a diagram into a head. Think of the face as a curved surface and shade the planes that turn away from the light.
- Shade the side of the head farthest from your light source, including the temple and cheek plane.
- Soften the eye sockets — they are shallow depressions, not holes. A light tone there does most of the work.
- Give the nose a cast shadow on one side, and keep the highlight on the bridge and ball subtle.
- Let the lips rest in shadow above and below; draw the line between them darker than the lips themselves.
Our analysis of common beginner work is simple: the biggest gains come not from more detail but from fewer, softer marks. Blend less, compare more. Step back from the drawing every few minutes and squint — the tonal mistakes show up immediately.
What should you practise next?
Repeat the construction on three-quarter views, where the centre line curves and the far eye foreshortens. Then try different ages: children's features sit lower and larger relative to the cranium, so keep the eye-line rule only for adults. Our guides to drawn eyes and anime-style heads take the next steps further, and the wider set of tutorials covers everything from linocut printing to paper marbling if you want to turn your drawings into prints. For related coverage, see Paper marbling for beginners starts with a carrageenan bath.
Keep a folder of failed heads. Comparing this month's attempt with last month's is the fastest way to see progress, and it beats any single drawing.
Where does this leave your drawing?
The evidence of a hundred beginner sketchbooks points one way: proportions first, features second, shading last. The eye line at the halfway mark, the five-eye width, and the nose at the midpoint will carry you through most faces. What remains unknown is your own hand's habits — and the only way to find those is to fill the page.