Coptic stitch bookbinding sews folded paper signatures through their own folds, linking them across an exposed spine with a visible chain stitch. A first book needs five signatures of four folded sheets, three sewing stations pierced along each fold, and about three metres of waxed linen thread. The earliest Coptic bindings from Egypt date to the second to fourth centuries.
Why choose a Coptic binding?
Two reasons keep bookbinders returning to this stitch. First, a Coptic book opens completely flat, because each signature is hinged only by the thread loops between sections — there is no rigid spine to resist the page. That makes it the binding of choice for sketchbooks, where a flat page matters, and for any book meant to be worked in rather than merely read.
Second, it asks for no glue at all. The structure is pure sewing: paper, board and thread held together by tension. The sewing pattern stays visible on the spine as linked chains, so the craft shows itself rather than hiding. Early sewn codices in the Library of Congress collections and elsewhere show how far this honest structure travels back — a modern Coptic notebook repeats, almost exactly, a binding used more than fifteen centuries ago.
For all its age, the binding suits modern papers and modern uses unusually well. Because no adhesive touches the spine, the book copes with being carried, dropped and reopened constantly, and because the sewing is structural, a damaged section can in principle be resewn. Repair-friendly construction is a rare quality in any object.
What does a beginner bookbinder need?
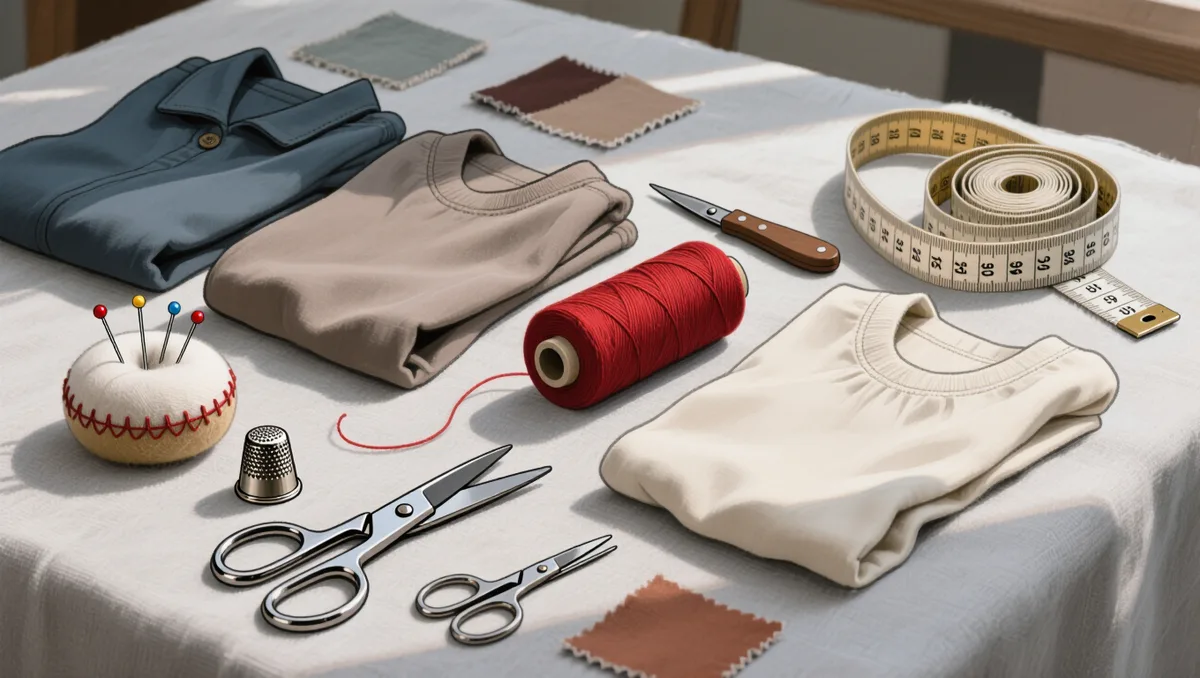
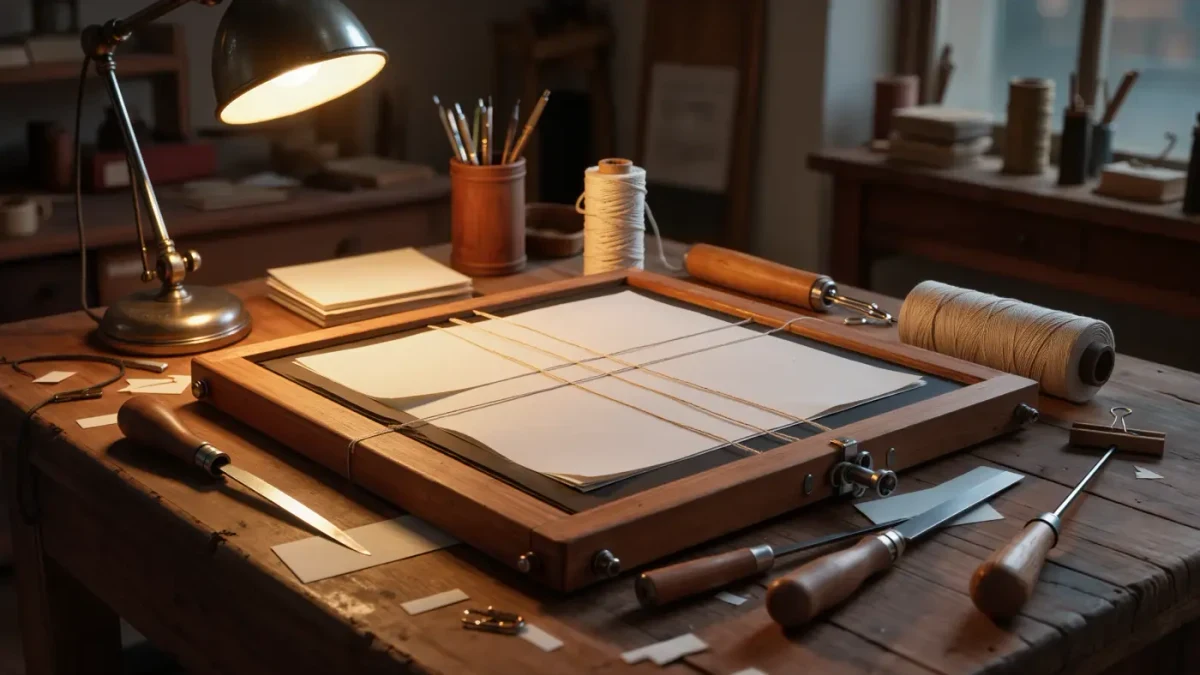
The toolkit is small and lasts a lifetime:
- Twenty A4 sheets of standard printer or cartridge paper, folded to make five signatures of four sheets
- Two covers of 2–3mm greyboard, cut slightly larger than the folded pages
- About three metres of waxed linen bookbinding thread
- One blunt-tipped bookbinding needle
- An awl or paper piercer for making the sewing stations
- A bonefolder for crisp folds
- A cutting mat, steel ruler and craft knife
- Pencil, two binder clips and a stack of heavy books for pressing
How do you sew a Coptic binding, step by step?
- Fold the twenty sheets into five signatures of four, creasing each fold firmly with the bonefolder, then nest the sheets and press the stack under heavy books while preparing the rest.
- Make a piercing jig: on a spare strip of paper the height of the spine, mark three stations — one about 25mm from the head, one level with the centre, one about 25mm from the tail. Hold the jig inside each fold and pierce every signature from the inside out with the awl.
- Pierce the covers: with the jig aligned along the spine edge, make one hole level with each station, about 5mm in from the edge. The awl should enter from the outside of each cover.
- Thread the needle with no knot. Start inside the first signature, along the fold, and exit at the first station. Pass the needle down through the matching hole in the cover from outside to inside, around the spine edge of the cover, and back up through the same hole, then enter the next station of the signature and repeat across the fold.
- At the far end, keep sewing: bring the needle back inside the signature at the last station and out at the next, so each station is anchored to the cover exactly once. Finish by moving to the second signature.
- Sew the second signature through its stations. Before entering each hole from inside, slip the needle under the stitch that bridges the signature and cover below — this loop is what forms the visible chain on the spine. Keep the tension firm and even; the signatures should sit snug, with no daylight between them.
- Repeat for every signature, always linking under the stitch below before sewing on, until the last one. Finish inside the final signature with a square knot around the nearest chain, trim the thread, and press the finished book under weights for an hour or more.
Covers invite their own small decisions. Bare greyboard shows off the sewing plainly and wears in beautifully, while book cloth or decorated paper softens the boards without touching the structure. Pierce the cover holes before any covering goes on, and the stitching remains the only precision work in the project. Between signatures, pause to look at the chain: an even chain running down the spine is the whole aesthetic of the binding, and it forgives small wobbles hands cannot.
Where do beginners lose the thread?
Tension causes most first-book wobbles. Loose sewing lets signatures gape and rock; overly tight sewing buckles the folds and strains the paper. Aim for the firm, even pull of a shoelace half-done-up — enough to hold everything in contact, not enough to deform anything.
The other classic slips: piercing off the fold, which tears when the book opens; folding against the grain, which cockles the pages; and running out of thread mid-spine, which is not a failure at all — simply stop at a station, tie on a new length with a square knot close to the fold, and keep sewing. Every experienced binder carries such joins somewhere in their books.
Once the sequence clicks, the stitch becomes meditative, and the variations — four stations, five, decorative coloured thread chains — extend naturally from this one method. A second book takes half the time of the first, a third takes half again, and somewhere in that arithmetic a hobby quietly becomes a practice.